How to use a Brass Branding Iron?
The most important things you need to know about burning brand into wood.
First of all, you need to make ready your workspace. There should be nothing unnecessary on the table. Please follow safety rules when working with fire and red-hot branding iron. Make sure you have good lighting.
- Brass branding iron.
- Holder with a wooden handle.
- Butane/propane torch or other flame heat source.
- A sprayer filled with water.
- Wood scraps to test the temperature of the branding iron.
How do you brand wood products?
Start by screwing the handle onto the brass branding iron itself. Make sure that it is fixed well to the holder.

How hot should a branding iron be?
The heating temperature for a wood branding is 350°C.
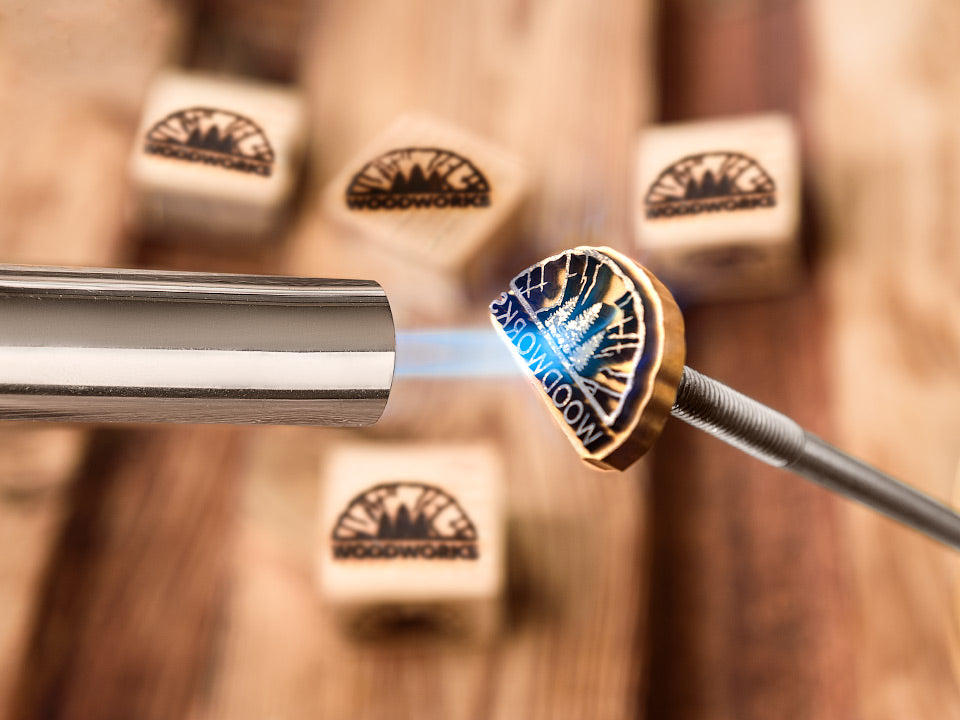
Heat the branding iron from the front using a torch or open flame.
It must be hot enough.
Brass will begin to change color when heated, this is normal.
We recommend testing your branding iron on wood scraps before you start working on your item.
Should you wet wood before branding?
Yes.
Once you are sure your branding iron is at the correct temperature by testing it on the wood waste, spray water on the wood, and apply it to the wet workpiece.

This will help to control the heat coming from the iron after application and will keep areas that should not be marked clean.
How long to heat branding iron burn wood?
The heating time of the branding iron from an open flame is 4-7 minutes depending on the size.
Branding should take no more than 5 seconds with only light pressure on the wood.
Apply only light pressure and try not to rock the iron too much. If the iron is pressed against the wood longer, the logo may burn through the wood too much.
Check the result: a good impression will have a shape that shows all the details.

If desired, your impression can be polished to improve clarity.
Please feel free to contact us if you have any questions about stamp production or special requests: sales@stampsworkshop.com
